Installing Oracle Apex on Linux
Simple guide on how to Install Oracle Apex and ORDS on Linux systems in Standalone format.
Versions to Install in this guide:
APEX 24.1
Java23
ORDS 24.4
You will find the downloads at the following links:
Download Required Software
1) Descargamos la última versión de Oracle Apex, este caso 24.1.
https://www.oracle.com/tools/downloads/apex-241-downloads/
Bajamos el fichero: Oracle APEX 24.1 – All languages
2) Descargamos la última versión de ORDS, en este caso 24.4.
https://www.oracle.com/database/sqldeveloper/technologies/db-actions/download/
Nuestra instalación será en modo Standalone.
3) Bajamos versión JDK 11 o superior. En nuestro caso la versión 23.
https://www.oracle.com/java/technologies/downloads/?er=221886#java23
STEPS TO FOLLOW FOR THE INSTALLATION OF APEX
In this post, we assume that we already have an Oracle database installed, in our case Oracle 19.20 on the Red Hat Enterprise Linux 9 operating system.
1) WE CREATE THE TABLESPACE WHERE THE APEX INSTALLATION WILL BE PERFORMED
We create a new tablespace, we will give it the APEX name where we will perform the installation.
SQL> CREATE BIGFILE TABLESPACE APEX DATAFILE SIZE 500M AUTOEXTEND ON next 1G MAXSIZE UNLIMITED ;
— We check that it has been installed correctly
SQL> select name from v$tablespace where name='APEX';
Once we have downloaded the resources that we have indicated above at the beginning of the post, we must extract the Apex installation files
and Ords in a specific folder for each of the installations.
2) INSTALLATION OF ORACLE APEX
We navigate to the folder where the Apex files have been extracted, where the apexins.sql file is located
The installation format is as follows:
— @apexins.sql tablespace_apex tablespace_files tablespace_temp images
SQL> @apexins.sql APEX APEX TEMP /i/
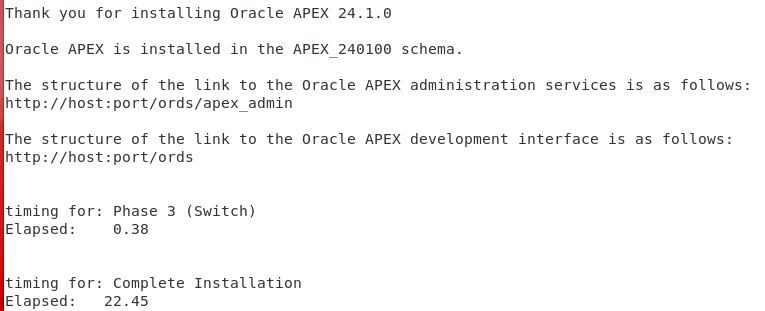
After a few minutes we will receive a message stating that the installation has been completed.
3 ) CREATE APEX ADMINISTRATOR ACCOUNTS
Once the execution of the previous command is finished, let's run the apxchpwd.sql script which will create the instance administrator account whose default name is ADMIN. In our case we leave the user ADMIN.
The following must be taken into account when choosing the password for the administrator user:
* Password must contain at least one punctuation character (!»`’#$%&()[]{},.*+-/|\:;?_~).
SQL> @apxchpwd.sql
…set_appun.sql
This script can be used to change the password of an Oracle APEX instance administrator. If the user does not yet exist, a user record will be created.
Enter the administrator’s username [ADMIN]
User "ADMIN" does not yet exist and will be created.
Enter ADMIN’s email [ADMIN] rgpinto@oracleconraul.com
Enter ADMIN’s password []
Created instance administrator ADMIN.
4) WE UNLOCK A PUBLIC USER AND SET A PASSWORD.
We unlock the APEX_PUBLIC_USER User and assign it a new password, since this account is created with a random password during the installation and leaves the user locked, so it must be changed before continuing with the configurations. This password cannot have special characters.
The APEX_PUBLIC_USER user has the DEFAULT profile by default, so if you want to avoid password expiration, you must change the PASSWORD_LIFE_TIME parameter. In my case, since it is a test instance, I am going to create a new profile so that the password does not expire. Obviously, in production environments it is not advisable and for security reasons it is better to change the password every 180 days, the value established in the DEFAULT profile.
SQL> CREATE PROFILE «UNLIMITED_PWD_EXPIRATION» LIMIT
CPU_PER_SESSION UNLIMITED
CPU_PER_CALL UNLIMITED
CONNECT_TIME UNLIMITED
IDLE_TIME UNLIMITED
SESSIONS_PER_USER UNLIMITED
LOGICAL_READS_PER_SESSION UNLIMITED
LOGICAL_READS_PER_CALL UNLIMITED
PRIVATE_SGA UNLIMITED
COMPOSITE_LIMIT UNLIMITED
PASSWORD_LIFE_TIME UNLIMITED
PASSWORD_GRACE_TIME DEFAULT
PASSWORD_REUSE_MAX UNLIMITED
PASSWORD_REUSE_TIME UNLIMITED
PASSWORD_LOCK_TIME 1
FAILED_LOGIN_ATTEMPTS 10;
We assign the new profile to the APEX_PUBLIC_USER user. We change the password and unlock the user.
SQL> ALTER USER APEX_PUBLIC_USER PROFILE UNLIMITED_PWD_EXPIRATION;
User altered.
SQL> ALTER USER APEX_PUBLIC_USER IDENTIFIED BY <password> ACCOUNT UNLOCK;
User altered.
5) CONFIGURATION OF RESTful SERVICES
At this point, we are going to configure Oracle REST Data Services as a web server, where static files are delivered using the RESTful service module integrated into Oracle APEX. To do this, we must run the apex_rest_config.sql file .
This process creates two new database accounts, so we must assign the password to the new users created.
SQL> @apex_rest_config.sql

 PL/SQL procedure successfully completed.
 .
 .
 .
 PL/SQL procedure successfully completed.

 Enter a password for the APEX_LISTENER user []
 Enter a password for the APEX_REST_PUBLIC_USER user []
6) DISABLE Oracle XML DB Protocol Server, if it is not already disabled.
We disable the XML protocol server to prevent the port we are going to configure from being in use.
6.1 – We check that it is disabled:
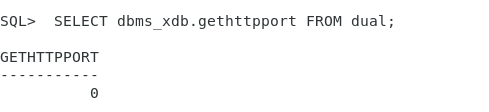
Otherwise we execute the following:
EXEC DBMS_XDB.SETHTTPPORT(0);
7 ) DATABASE ACCESS (ACL)
By default, the network services that allow us to connect to the database user who owns the APEX schema are disabled, therefore it is necessary to use the DBMS_NETWORK_ACL_ADMIN package to grant connection privileges to this user.
Before running the command you will need to determine which host you will allow to connect to APEX.
- If we want to grant connection privileges to any host for the database that owns the APEX schema, we will use *
- If we want to grant connection privileges only to servers running on the same database host, we will use localhost
Connected as DBA, we execute the following command. In our case, we are going to use * to give connection permissions to any host.
SQL> BEGIN
    DBMS_NETWORK_ACL_ADMIN.APPEND_HOST_ACE(
        host => '*',
        ace => xs$ace_type(privilege_list => xs$name_list('connect'),
                           principal_name => APEX_APPLICATION.g_flow_schema_owner,
                           principal_type => xs_acl.ptype_db));
END;
/

PL/SQL procedure successfully completed.

SQL>
8) INSTALLATION OF ORACLE REST Data Service (ORDS)
We create a directory where the installation will take place. In our case /u01/ords.
unzip ords-24.4.0.345.1601.zip -d /u01/ords/
8.1) Outside the ORDS directory, following Oracle's specifications, we create a config directory, where we will later specify the ORDS configuration.
mkdir -p /u01/ords_install/config
8.2) Create an images folder.
mkdirimages
We copy all images from the "images" directory of our APEX installation to the "imageslocation of our ORDS.
cp -r images/u01/ords/
We create a logs folder, outside the ords directory.
mkdir -p /u01/ords_install/logs
9) INSTALACION JAVA
Antes de comenzar la instalación del ORDS, es necesario tener en nuestro sistema la versión de Oracle Java que la versión de Apex requiera cómo requerimiento. Dependiendo la versión de Oracle Apex la versión soportada de Java cambia, para nuestra versión se requiere Java 11 o 17.
We check our current version:
[oracle@localhost ords]$ java -version
openjdk version "1.8.0_272"
OpenJDK Runtime Environment (build 1.8.0_272-b10)
OpenJDK 64-Bit Server VM (build 25.272-b10, mixed mode)
[oracle@localhost ords]$
Actualizamos la versión de java de la siguiente manera:
[oracle@localhost softwareapex]$ sudo rpm -iv jdk-23_linux-x64_bin.rpm
We check the version again and see that it has been updated correctly:
[oracle@localhost softwareapex]$ java -version
java version "23.0.2" 2025-01-21
Java(TM) SE Runtime Environment (build 23.0.2+7-58)
Java HotSpot(TM) 64-Bit Server VM (build 23.0.2+7-58, mixed mode, sharing)
10 CREATION OF THE ORDS.
We create a new tablespace to hold the ORDS data.
SQL> CREATE BIGFILE TABLESPACE ORDS DATAFILE SIZE 500M AUTOEXTEND ON next 1G MAXSIZE UNLIMITED ;

 Tablespace created.
We launch the installation. Inside the bin folder of the ords directory, we launch the following command.
./ords --config /u01/ords_install/config install --log-folder /u01/ords_install/logs
Important: The –config parameters point to the configuration directory and the –log-folder parameter indicates where the ords log files will be stored.
We choose the database where the installation is performed.
Oracle REST Data Services - Interactive Install

 Enter a number to select the TNS net service name to use from /u01/app/oracle/product/19/dbhome_1/network/admin/tnsnames.ora or specify the database connection
   [1] TEST         SERVICE_NAME=test
    [S] Specify the database connection
 Choose [1]:
We review the installation settings, and change some values to suit our requirements. Once set, we use the [A] option and the installation begins. Our installation will be done using the HTTP protocol.
 Introduzca un número para actualizar el valor, o bien seleccione la opción A para aceptar y continuar
    [1] Tipo de conexión: TNS
    [2] Conexión TNS: TNS_NAME=TEST TNS_FOLDER=/u01/sw/network/admin
           Usuario administrador: SYS AS SYSDBA
    [3] Contraseña de base de datos para usuario de tiempo de ejecución de ORDS (ORDS_PUBLIC_USER): <contraseña especificada>
    [4] Usuario de tiempo de ejecución de ORDS y tablespaces de esquema:  Valor por defecto: ORDS Temporal TEMP
    [5] Función adicional: Acciones de Base de Datos
    [6] Configurar e iniciar ORDS en modo autónomo: Sí
    [7]    Protocolo: HTTP
    [8]    Puerto HTTP: 8080
    [9]   Ubicación de recursos estáticos de APEX:
    [A] Aceptar y continuar - Crear configuración e instalar ORDS en la base de datos
    [Q] Salir - No continuar. Sin cambios
Once the installation is complete, we can launch the ORDS executable to access Apex, via the Web.
Inside the ords bin folder we launch the following command manually:
./ords --config /u01/ords_install/config serve --port 8080 imagesimages
If everything is correct, it would be advisable to perform a start/stop script for the service.
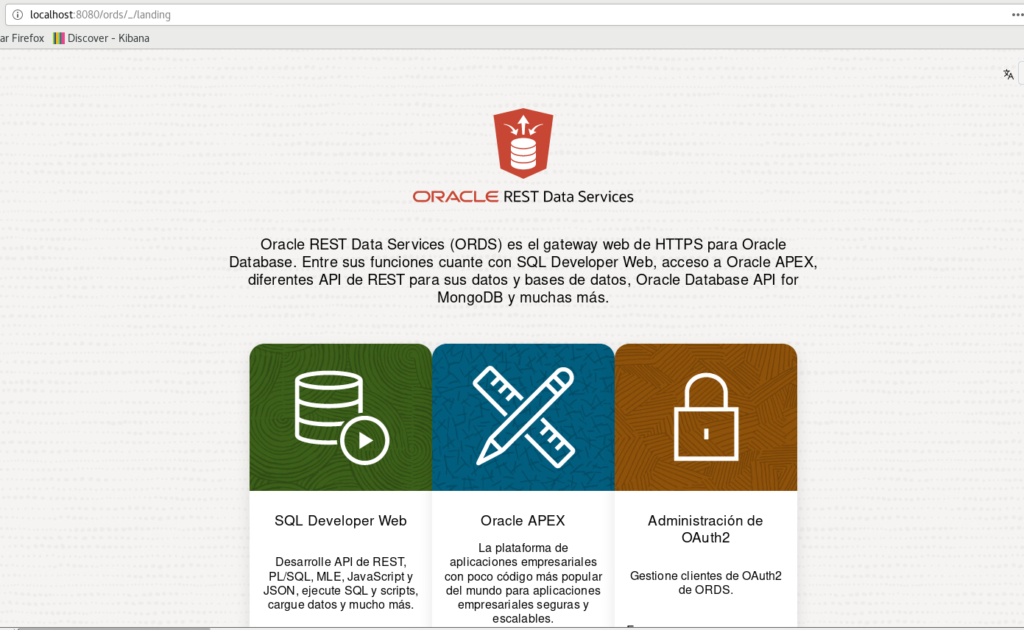
With this you can now access your APEX home page.
http://localhost:8080/ords
Initial screen after installing Oracle Apex.