Patching Oracle databases with AutoUpgrade
In this post step by step how to patch an Oracle 19c database 19c AutoUpgrade. AutoUpgrade the tool recommended by Oracle to manage database updates more quickly, securely, and easily. We will also demonstrate how to use AutoUpgrade patch a database automatically and easily.
In this example, we will see how AutoUpgrade not only allows us to patch a database, but also downloads the necessary patches and creates a new Oracle root directory, enabling patches to be applied using the recommended "out-of-place" method. Autoupgrade automatically Autoupgrade checks before and after patching, making it a simpler method for applying patches to our database.
Our laboratory
Database 19c:  version 19.27
Multitenant:           Yes. PDBs (TESTPDB1).
RAC:                   No
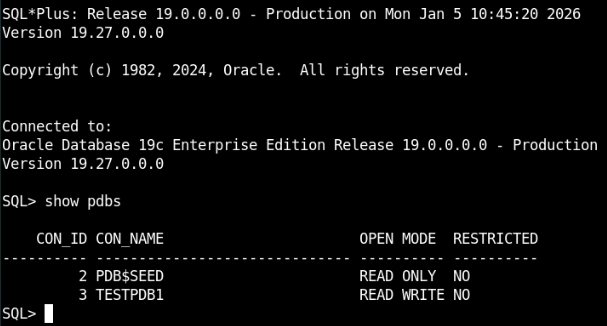
In our case, we have database version 19.27.0.0.0, and we are going to apply patch 19.28.
1 – Prepare the database before patching.
Regardless of the method used, Oracle always recommends analyzing the database or performing a precheck of the database status to determine whether the patch can be applied without problems.
To do this, we will launch AutoUpgrade "analyze" mode, where an analysis will be performed to check whether our database is apparently ready to be patched.
Autoupgrade a configuration file containing information about the database to be patched.
We have created the file 01-simple.patching.cfg with the following information:
global.autoupgrade
patch1.source_home=/u01/app/oracle/product/19
patch1.target_home=/u01/app/oracle/product/19_28
patch1.sid=TEST
patch1.folder=/home/oracle/patch-repo
patch1.patch=RECOMMENDED,37738908
patch1.download=no
source_homeandsiddescribes the current database.- global_log_dir directory where log files will be stored.
target_homeindicates the location of the new Oracle Home. If it does not exist, AutoUpgrade a new one with the characteristics of the source Oracle.foldertells Autoupgrade to find the patch to be applied. In this case, we have downloaded it beforehand, but you can tell Autoupgrade download the patch automatically. To do this, you must provide the correct My Oracle Support credentials.patchtells AutoUpgrade patch to apply.RECOMMENDEDThis means OPatch updates and the latest release, as well as patches for OJVM and Data Pump packages.downloadYou indicate the credentials where Oracle should download the patch. In our case, this does not apply as it has already been downloaded.
2 – Analyze the database before patching.
We run the following command with the analyze option
java autoupgrade.jar -config scripts/01-simple.patching.cfg -mode analyze
3 – Monitor the process
lsj -a 10
- lsj lists active jobs, i.e., our patching "analyze," and refreshes every 10 seconds.

We wait for the process to finish. If everything is correct, the output will look something like this, with "jobs failed 0."
4 – We check the log files
Before applying the patch, it is strongly recommended that you review the html/log files generated by AutoUpgrade. These files provide a summary report of the analysis and indicate whether the precheck was performed correctly.
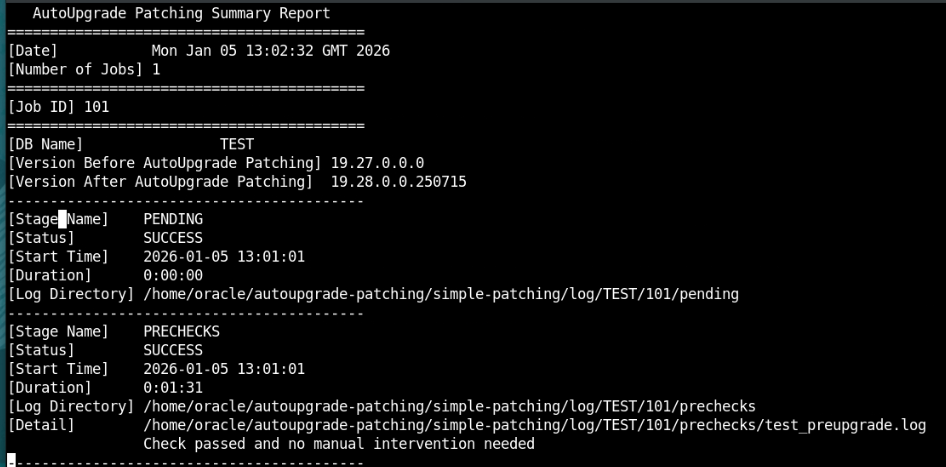
The report log indicates:
- The database to be patched will be our TEST database.
- We are patching from version 19.27 to 19.28. (the patch we have downloaded)
- In your own environment, when AutoUpgrade patches, it will always take the latest available Release Upgrade from MOS when you specifypatch=recommended.
In this case, we are not connected to Oracle Support, so no patches will be downloaded even if you specify patch=recommended. In an environment connected to Oracle, patches will be downloaded to apply the latest update available in MOS. - It is indicated that all PRECHECKS are correct and that no manual action is required.
- This database is therefore ready to be patched.
5 – We patch the database.
java autoupgrade.jar -configscripts/01-simple.patching.cfg -mode deploy
We check the status of our patch:
lsj -a 10

lsj lists active jobs, i.e., our patching "analyze," and refreshes every 10 seconds.
If we need more information about the process, we can do the following.
Press ENTER on the previous screen to go to the autoupgrade main screen, where we will execute the following
status -job 102 -a 10
Note: the number 102 indicates the job of our process, which you can identify in the output of the lsj command.
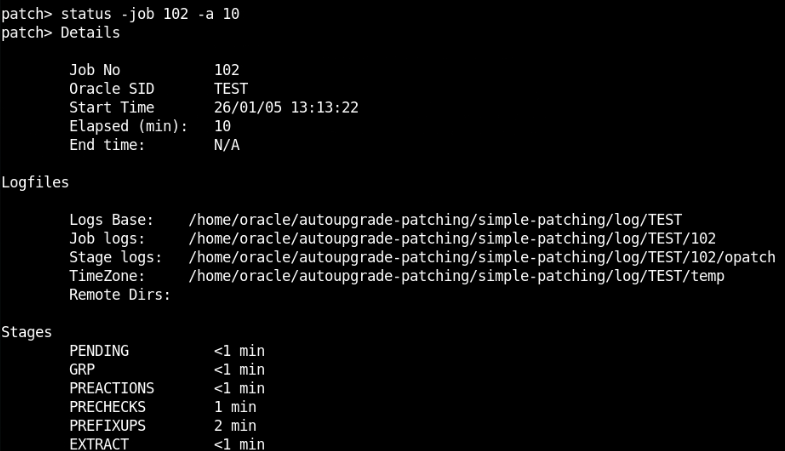
6- We check the log files.
The path to the log files can be seen in the command output. It is advisable to check these files while the patch is being applied to verify that everything is being done correctly.
Once the process is complete, we will see the following.
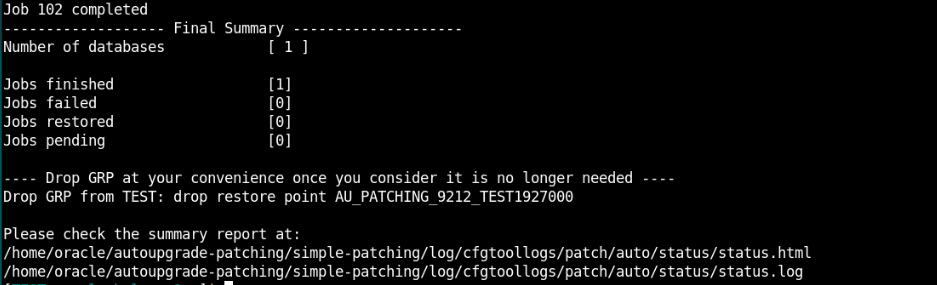
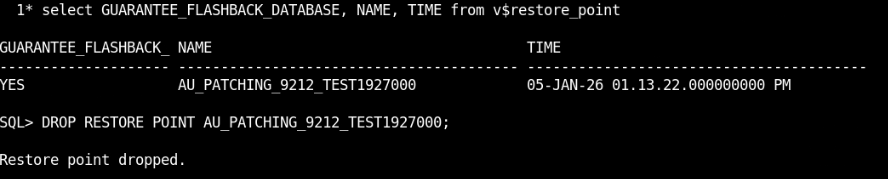
As we can see, AutoUpgrade created a "restore point," which will allow us to reverse the process if we encounter any errors when applying the patch. For now, we will not delete it until we have verified that the entire process has been completed correctly.
We carefully reviewed the log files again to verify that no errors occurred during the patch application.
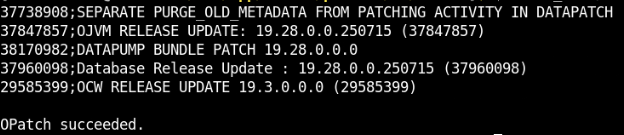
We verify that the patch is applied correctly.
export ORACLE_HOME=/u01/app/oracle/product/19_28/
opatch lspatches
Once we have verified that everything is correct, we can delete the restore point.
As we can see with AutoPatch, we can automatically perform the following:
- Patch the database.
- A new Oracle has been created.
- Opah update and updates to the required patch versions.
- Precheck and post-installation tasks after applying the patch.
- Copy the configuration files from the old database.
Finally, we will update our environment profile script to adapt it to our new Oracle Home.

Example profile19_28.env