Provision Database software Images Oracle OCI
In this post provide an example of how to provision software in an OCI environment. As an example, we will provision a software image software an ExaCC Oracle Exadata on Cloud@Customer) environment.
For our test, we will create an Oracle Database 26ai image 26ai can then be deployed to the VM cluster on our ExaCC.
1 – We address our ExaCC environment

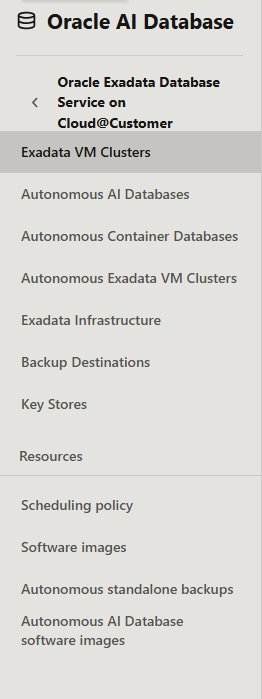
To do this, within our OCI console, OCI go to Navigation menu -> Oracle AI Database -> Oracle Exadata Service on Cloud@Customer.
2 – We provision the database image.
On the left side of our window, click on the "Software Images" option.
We click the Create Software Image button.

The software Image Creation screen appears.
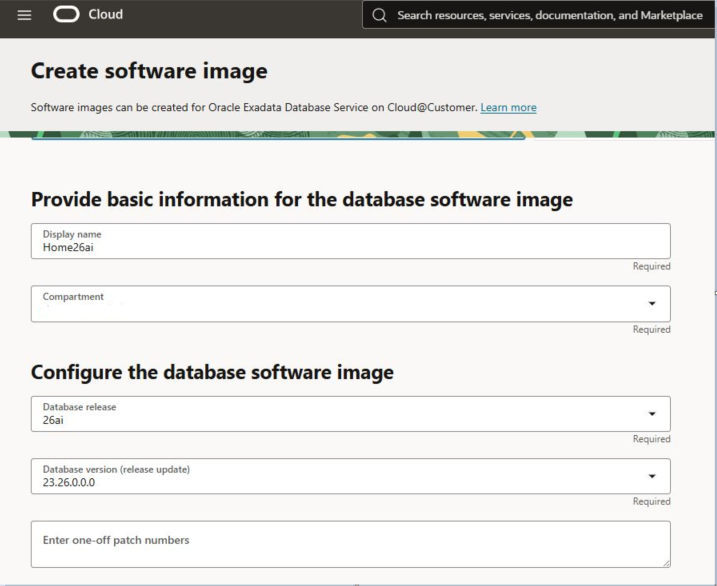
Display Name: Name you want to give to your software image.
Compartment: Compartment where you want to deploy the software.
Database release: Database release to be deployed.
Enter one-off patch numbers: Specific patch numbers that you want to deploy in the database Oracle Home.
Another option is to upload the inventory from an Oracle Home that you already have deployed to ensure that the new Oracle Home will have the same number of patches (depending on the version to be deployed).
To do this, you must do the following.
opatch > lsinventory.txt
And upload the lsinventroy.txt file
In our case, we will not apply any additional patches. Click Create.
Under the "Work request" option, you will see the progress of the Oracle Home creation.

When finished, your customized SW image will be available to be deployed on your ExaCC.

3- Creation of database with software image.
Within our Cluster, we will create a database, choosing our previously created sw Image.
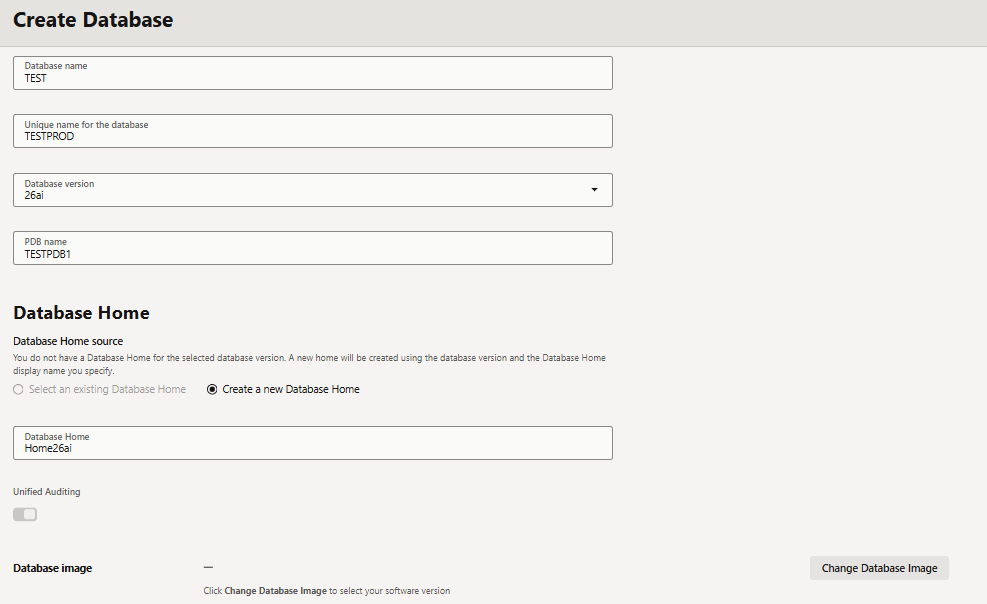
Example of database creation
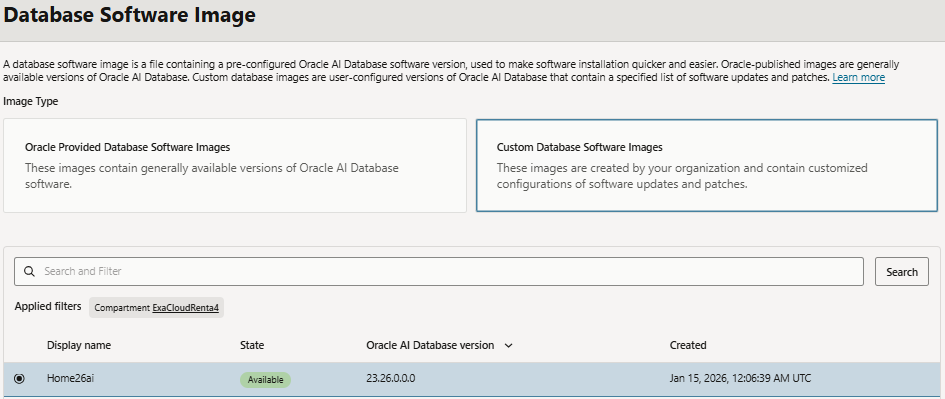
To select our newly created image, click on the "Change Database Image" button in the create database options and select the custom sw created previously. In our case, "Home26ai," and click on Select.
With this, you can now create a database in OCI the version, release, and patches selected in our ExaCC architecture.